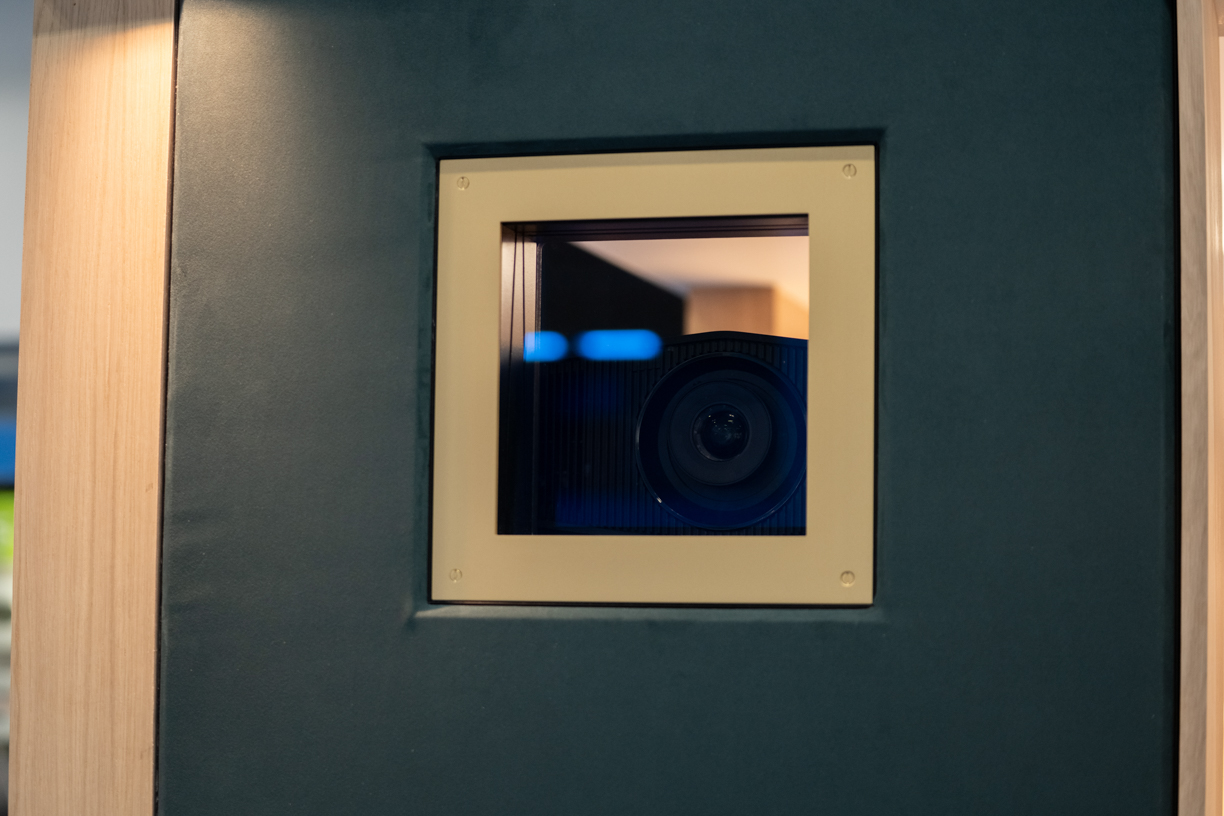
A wall-mounted projector shelf designed for clean installation, integrated cable routing, and isolated support. Built for cinema rooms where practical detailing matters just as much as the final finish.
Step 1 — Assemble the support structure
Bolt the Z-plate to the cantilever arms using 10 x M5 bolts to form the main support assembly.
Step 2 — Attach the isolation shelf
Fix the isolation shelf to the isolation bumpers using 4 x M6 bolts, then secure it from below the Z-plate with 4 x M6 nuts.
Step 3 — Mount to the wall
Secure the shelf to the wall using the fixing holes provided, along with washers and suitable fixings for the wall type.
Step 4 — Route cables cleanly
Use the cable access routes and cable management slots built into the shelf to keep wiring neat and integrated.
Compact, practical, and designed for projector installations where structure and finish both matter.
Specs
Overall width: 612 mm
Overall depth: 612 mm
Overall height: 198 mm
Internal width between supports: 488 mm
The shelf also includes integrated cable access routes, cable management slots, wall fixing points, and an isolation shelf mounting system as part of the overall design.
Please find below, answers to commonly asked questions.